A cradle is an attachment to a scythe which gathers the grain stalks as they are cut. Without a cradle, cutting grain with a scythe is not possible. The scythe will scatter grain stalks in a swatch without any organization, and the time spent picking up each one is longer than if the scythe was discarded for a hand sickle. To cut grain with a scythe, you need some kind of cradle.
The multi-fingered grain cradle is a purely American development, appearing sometime in the late 1700’s. Using a cradle, a person can harvest two acres of wheat per day, about triple the production of a hand sickle. Cradles were still used well into the 20th century, and the last US patent for a grain cradle is from 1924.
 |
| I made this cradle a few years ago and it has been working fine for me. This is an old american style scythe and the cradle is mounted by a simple steel bracket to the hardware already being used to mount the blade. |
The most intimidating part of a cradle are the fingers, which need to be long, strong, and curved. Historically, the fingers were steam-bent, but we’re going to use the technique of wood lamination. To make the fingers, you’ll need a piece of wood at least 3” thick and clean of knots. Almost any kind of wood will work. On the table saw, rip out three thin strips, around 3/16” thick, and as long as the blade of your scythe. We’re going to make a single, curved lamination with these strips to cut the fingers from.
Set up some blocks on a countertop and clamp the strips down. Adjust the blocks until the curve of the lamination matches the curve of the blade. When you are satisfied with the dry fitting, spread glue onto the strips and clamp everything down again. Clamping laminations always gets messy, and the glue tends to make things slide around. So be prepared with extra clamps, blocks, etc. Try to get even clamping pressure across the wood surfaces.


 |
| This fingers ended up 5/8" x 5/8". The wood is douglas fir, and it's a little too stiff. You need the fingers to be a little flexible so they can be adjusted to line up with the blade. |
Next, make a post to hold the fingers. Begin with some clear, strong wood about 1½” x 1½”. Cut notches every six inches for the fingers and glue them in place. Finished fingers should be one or two inches shorter than the scythe blade.
 |
| Mounting the fingers to the post. I am using only glue and that has worked just fine for me. It wouldn't hurt to use fasteners or add some wooden bracing. |
 |
| The post mounting, using two 10-24 bolts. I don't want to drill too many holes through the handle, but I think it will still be strong enough. |
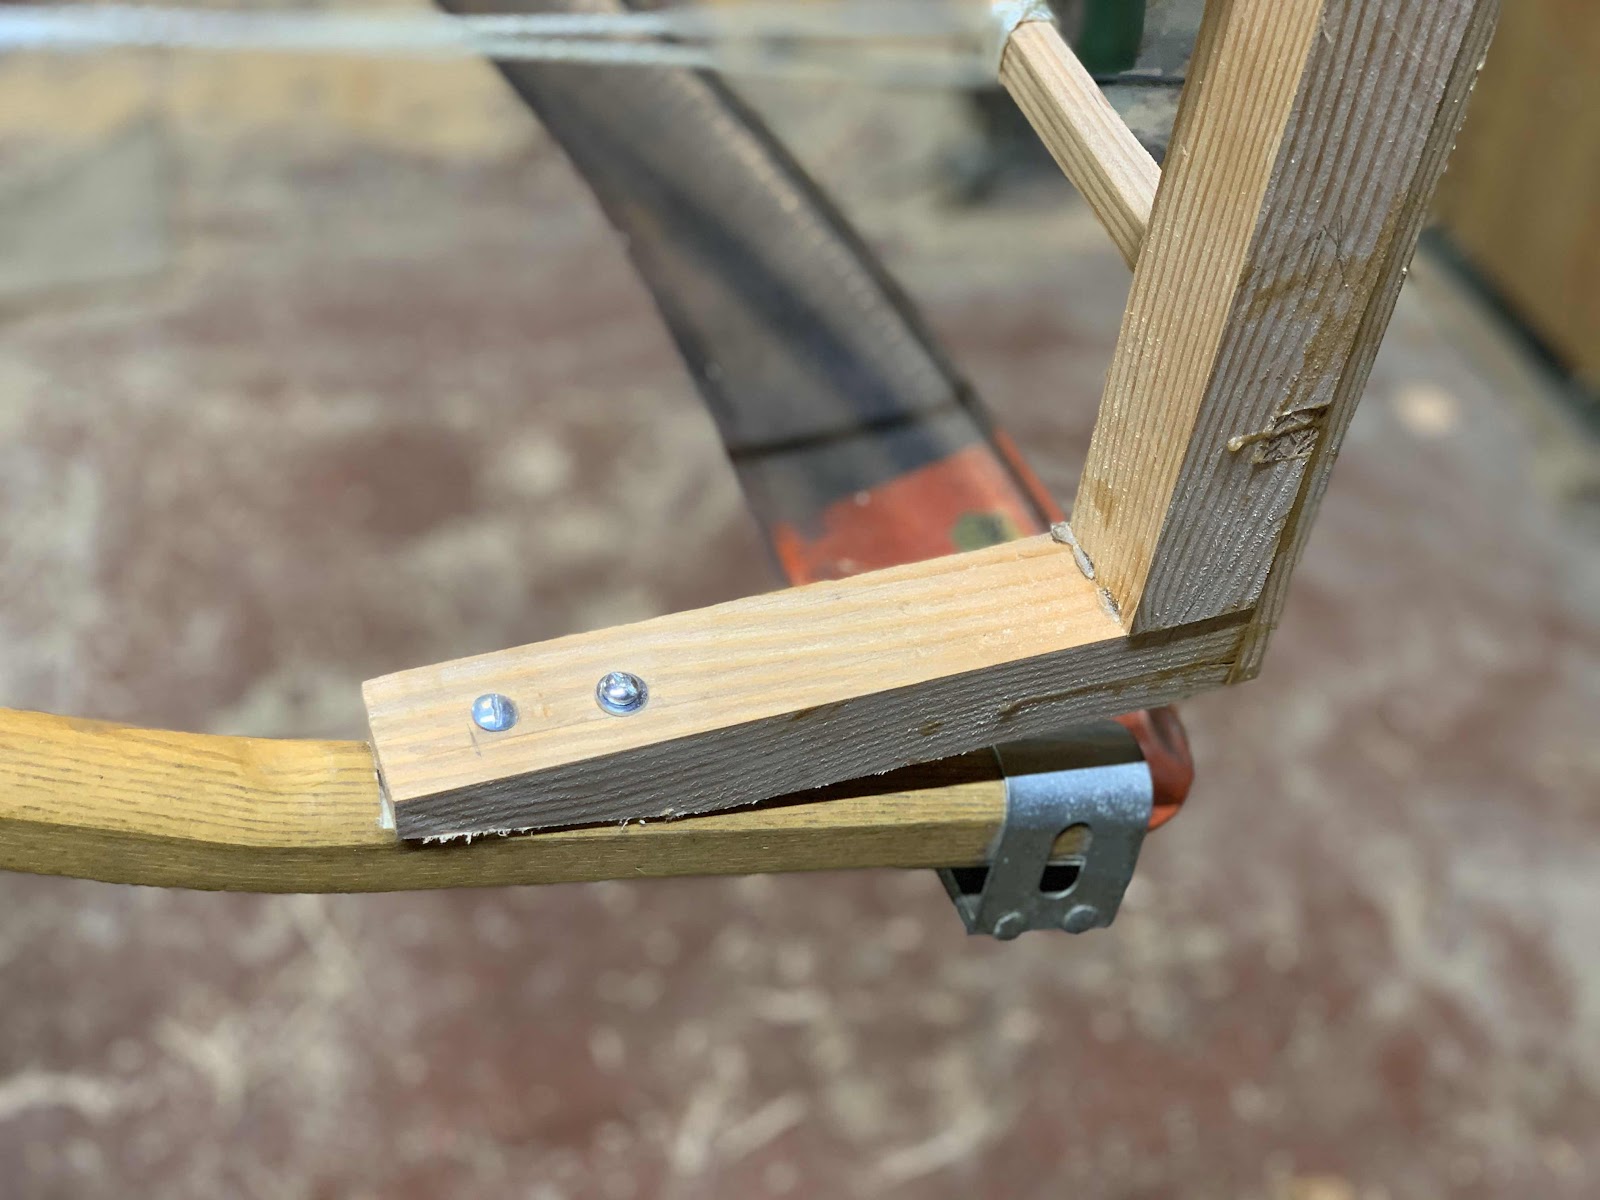
 |
| Here's how I mounted the cradle to an american scythe. I just made a bent steel bracket out of 3/4" wide stock and slipped it under the bolts that hold down the blade. The strings will simultaneously adjust the fingers and add additional strength to the mounting. |
Mount the fingers so that the tips are a little bit behind the scythe blade. The final adjustment will be accomplished with string running from the scythe handle out to each finger. The strings should attach to each finger about six inches out from the post. Tighten the strings until the tips are in alignment with the back side of the blade. The fingers need to grab each stalk of wheat that will be cut by the blade, without grabbing excess stalks.
 |
| The finished cradle. This is the first cradle I've built for an Austrian style scythe. Note how the post has been braced back to the scythe handle. My impression is that a finger-style cradle might work best with an American style scythe, which has more curve and a shorter handle. I'll find out at the 2020 harvest. |
There are two options in how to swing a cradle in the field. The most elegant is to cut and deposit the wheat in one stroke. Swing the cradle as you would an ordinary scythe. When the last stalk is cut, stop the swing abruptly without raising the blade from the ground. The cradled stalks should fall over in one neat bundle. The next swing of the cradle will deposit the next bundle perfectly in line with the previous. Now it is easy to come by later and gather the cut grain into whatever sized bundles you want.
The second option is to turn the blade sharply upwards after the last stalk is cut. Now all the wheat from the swing is securely in the cradle, and you can drop it anywhere you want. The mower might choose to make piles of three or four swings each, enough for one bundle. This method works fine but is slightly more physically demanding than the former.

Have a great harvest!